

Trail Kitchen · A RidgeSong field guide
How to Plan and Pack a Nesting Cook Kit
A compact stack starts with a clear packing list. Use this routine to choose your pieces, check their fit and keep the things you need within reach.
Before you begin
- Count each vessel and its removable parts.
- Check the intended arrangement without forcing pieces together.
- Rehearse access, packing and the return-trip cleanup.
In this guide 0% read
Start with the kit you will actually carry
A nesting cook kit is easier to pack once you have chosen the pieces for your trip. Set that loadout aside, then check how it closes, what is accessible and where used items will go on the way home. A neat stack should also be practical to unpack.
This guide uses the RidgeSong Mega Set as a planning example. It helps you make a packing list and check a configuration at home. For the order and orientation of individual parts, use the product guidance for your version.
Choose a loadout before finding space
The Tea & Coffee Fusion Mega Set brings together a trekking pot, tea mug, alcohol stove, bowl and sharing tumblers. Set out only the pieces your planned meals and drinks require. Keep the unused modules apart so they do not gradually find their way back into the packed kit.
Count the small parts as well as the vessels
Lay the pieces on a clear surface. Count lids, handles, sleeves and storage accessories separately; a product name can represent several parts.
Your preparation checklist
0 / 3 packedTick off the list as you prepare for your trip.
The Mega Set listing includes three sharing tumblers. A photo showing fewer cups describes that photographed loadout; it does not replace the contents list for your selected offer.

Check nesting with a dry, cool kit
Use the manufacturer's arrangement for the exact parts you have. The Titanium Trekking Pot has a detachable handle and two different lids, so include their storage positions in the check. Do not assume that a lid, handle or third-party accessory belongs in a particular gap simply because it appears to fit.
With everything dry and fully cool, assemble the intended storage arrangement without forcing the pieces together. Check that the closure sits as intended and that handles or edges are not being pressed into another component. If an added item changes how the kit closes, give it a separate place in your pack.
The accompanying video excerpt shows part of the packing process: small components being stored, lids closing the hammered pot, a fabric cover around the bundle and a shallow bowl fitted beneath it. It is an edited packing example. Use it to recognize the arrangement shown, rather than as proof that every part or variant fits the same way. Match the visible pieces and the product guidance before using the demonstration as a reference for your kit.
Check the closure before packing the bag
Look around the closed bundle from more than one side. A projecting handle, misplaced lid or loose small part can be easy to overlook from above. Check the closure against the intended arrangement rather than squeezing the contents until the outside looks tidy. If it no longer closes as expected, unpack and identify what changed.

Read the video captions
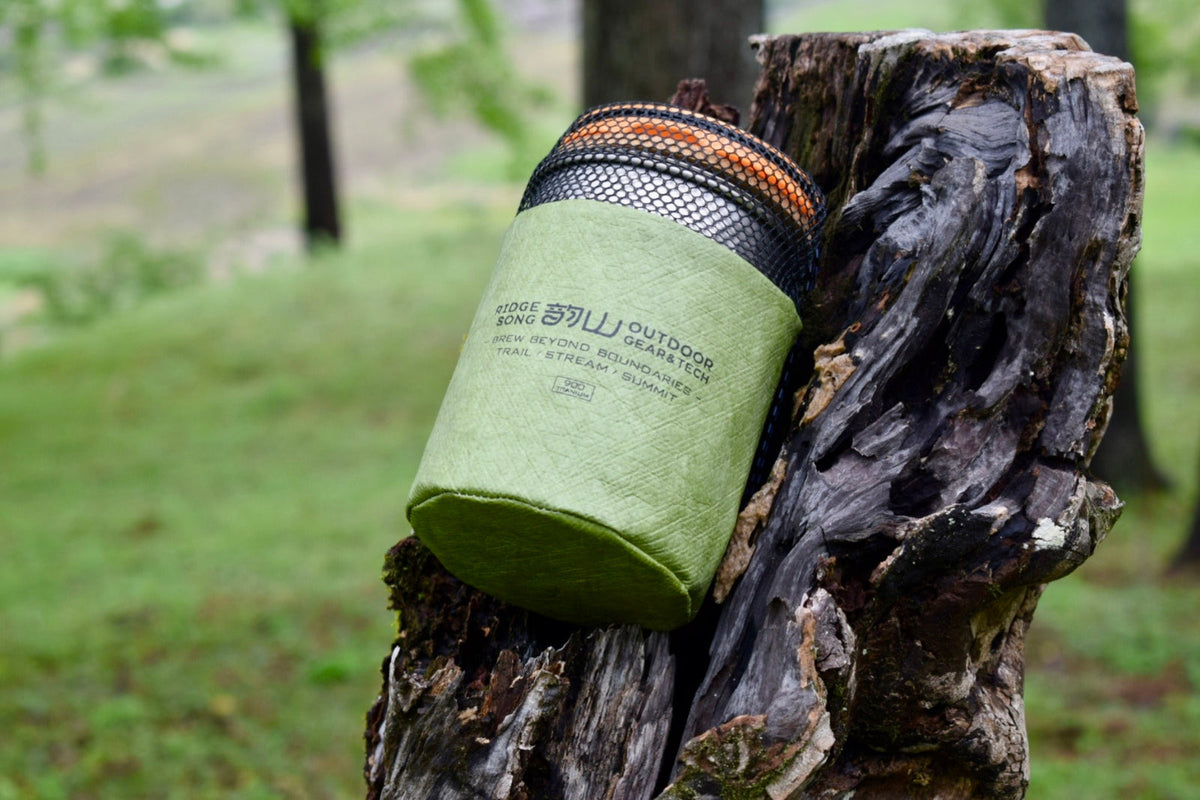
Small parts are placed inside the pot. The handle is folded and put away. The lids are stacked on top. The packed pot goes into its green sleeve. A shallow bowl fits around the base.
Keep a place on the table for anything left over. That makes it easier to distinguish a deliberately separate accessory from a part you forgot to pack.
Make the next stop easy to unpack
Think about the first thing you will use after taking off your pack. If it is a cup for a quick drink, burying that cup beneath the whole kitchen may be inconvenient. If the next stop is dinner, keeping the meal utensils together may matter more.
Try unpacking the kit in that order on your kitchen counter. Notice what has to be removed and where you put it. A small storage pouch can keep suitable loose accessories together, but it still belongs on the packing list. Do not add padding, bags or other items inside the stack without checking that the product's storage arrangement permits them.
Weigh the packed arrangement, not an imagined set
Put the actual dry loadout on your scale, including the lids, handles and bags that are coming. Record that configuration in a note or photograph. Keep water, food and fuel separate so the equipment figure remains understandable.
Different bowl versions, cup counts and accessories change the carried total. A headline weight for one configuration cannot tell you the weight of every combination. Your own complete packing list makes future comparisons more useful: you can see exactly what changed when you added a cup or left a module at home.

Leave room for the trip home
A kit that leaves home clean and dry may be damp after lunch. Keep a way to contain used utensils and collect food scraps or brewing waste. Do not rely on pushing wet pieces into the tightest available space. Follow the care and storage instructions for the individual materials before nesting them again.
Think through where temporarily separate pieces will travel. If a used spoon or damp vessel cannot return to its usual position yet, it still needs a secure place in the bag. Check the count again when you leave the stop, then unpack the kit for proper cleaning and drying when you get home.
Follow the stove and fuel manufacturers' storage directions, and keep fuel separate from food and drink vessels. The cookware stack is not a substitute for a suitable fuel container.
Finish with one complete packing rehearsal
Pack the kitchen into the bag you will actually carry. Check access, closures and the remaining space for the rest of your equipment. Then take it out and count the pieces against your list. This catches a forgotten lid or utensil before departure.
Keep a photo of that finished loadout for the next trip. When your menu changes, adjust the list and repeat the fit check. Compare the current Mega Set contents and options with the pieces your next outing needs.
Equipment in this guide
A closer look at the pieces.


Keep your plans moving
Where to go from here.

Decide whether a small table earns its place
Review the workspace you need before adding another item to your pack.

Build a Modular Backpacking Cook Kit
Choose your cooking pieces around the jobs they need to do. Explore three starting setups, count every carried component and use a checklist to build your own kit.